It's time for another look at this month's extra sets from the Mark's Finest Papers November Release. There is one full set and a mini set in addition to the four sets that Mark's releases each month. I have a peek at the full set called Winter Scenes. I used the largest image of the tree within the tree, all three snowflakes and a sentiment. Good stuff, let me tell you!! First, I stamped my tree image in white on my purple card stock and then trimmed out my tree. I stamped and embossed my sentiment and the snowflakes. I stamped my tree image again on white card stock, colored it and then stamped and embossed with some sparkle. This card shimmers in person! Finally, I used some dimensional adhesive to pop the purple up over the main image and then matted it with silver.
I thank you for coming by today. Don't forget to check out the other peeks on the Mark's Finest Papers blog and then come back tomorrow for some looks at the new sets being released this week.
Details - Stamps: Winter Scenes (MFP); Paper: Sweet Tooth White, Brushed Silver, purple (MFP); Ink: Tuxedo Black, Versamark; Accessories: Copic Markers, Touch Twin Markers, white ep, winter wonderland ep, iridescent ice ep, heat tool, stampin' dimensionals, craft knife.
Monday, November 26, 2012
Scor-Pal and Pink Paislee Week
This is the beginning of a really fun week here on my blog and the Scor-Pal blog! The Scor-Pal team and the Pink Paislee team are working together to show off great product. Are you ready for six full days of tutorials and eye popping projects? Me too!
Before you head out, here is sneak peek at what I have contributed to this week's festivities! Be sure to come back around this week for more cards and links to other fabulous designers work.
Friday, November 23, 2012
A Window Box Scor-Pal Tutorial
It's my pleasure to bring you a fun treat box, made super easy with your Scor-Pal. I present you with a Window Box. You may want to freshen up your drink, as today's tutorial has lots of pictures. Happy reading!
Line the back of the 1 1/2" by 9" with Scor-Tape.
Open to the inside of the box. Line the inside border of the window panel with Scor-Tape.
Peel the backing off the tape and adhere the 2 7/8" by 4 7/8" piece of acetate. Instead of acetate, you could use vellum or a piece of a report cover.
With your Scor-Tape, line the 3/4" section of the paper. Then peel the back and adhere down to the inside of the box.
Scallop both edges of the 1 1/2" by 6" piece of paper. I further decorated it by adhering two layers of ribbon with my Scor-Tape. This will be your box handle.
On the bottom of box, line the small tabs with Scor-tape. Peel the backing and fold them in first. Fold the bottom of the box up.
Line the top tab Scor-Tape. Peel the backing off the tape and fold the tab down, finishing your box.
Embellish and fill as desired. I added a couple of die cut snowflakes with rhinestone centers. Finally, I filled up with window box with the traditional Hershey's Kisses.
Thanks for hanging with me through the whole tutorial! Don't forget to visit the Scor-Pal blog throughout November and December for lots of beautiful projects!!
Details - Paper: Sweet Tooth White, SEI Winter Song; Accessories: Scor-Pal, Scor-Tape, 1/8" circle punch, Pretties Kit rhinestone brads, Recollections rhinestones, stampin' dimensionals, Rounded Rectangle die (Verve), Rounded Scallop Frame die (Verve), white organdy ribbon, white grosgrain ribbon, Snowflakes #8 embossing folder, Spellbinders Create a Flake 2 dies; scallop edge punch,
paper snips.
The supplies that you will need are:
- Scor-Pal
- One piece of card stock or patterned paper, 9" x 6 3/4"
- One piece of card stock or patterned paper, 1 1/2" x 6"
- One piece of card stock or patterned paper, 1 1/2" x 9"
- Acetate, 2 7/8" x 4 7/8"
- Additional card stock for window frame
- Scallop edge punch
- Die cut for window (punch or craft knife would also work)
- Painter's Tape
- Scor-Tape
- Other items for embellishment
Place your paper in your Scor-Pal with the 9" side up against the top fence as shown. Score at 1", 4", 5" and 8". I used patterned paper for my box base, so I placed it with the patterned side down.
Turn your paper 90 degrees and score at 3/4" and 5 3/4".
Again, turn your paper 90 degrees so that the 3/4" score is aligned with the top fence. Cut out the top left and bottom left squares. They are marked in the photo with an "X".
Cut on the 4", 5" and 8" score lines from the top and bottom edges to the first horizontal score line. I trimmed in a triangle shape to help my box come together in a neater fashion later.
Scallop one edge of the 1 1/2" by 9" piece of card stock. Decorate as desired. I embossed mine with a snowflake patterned embossing folder.Line the back of the 1 1/2" by 9" with Scor-Tape.
Peel the backing and adhere the scallop edged card stock just below the 3/4" section at the top. Turn your project over and re-score at 1", 4", 5" and 8".
Die cut window in front of your box.
Die cut frame from additional card stock. Line the back of the frame with Scor-Tape.
Peel the backing and adhere the frame around the die cut window in the front of the box. With your Scor-Tool, burnish all score lines for your box. Open to the inside of the box. Line the inside border of the window panel with Scor-Tape.
Peel the backing off the tape and adhere the 2 7/8" by 4 7/8" piece of acetate. Instead of acetate, you could use vellum or a piece of a report cover.
With your Scor-Tape, line the 3/4" section of the paper. Then peel the back and adhere down to the inside of the box.
Scallop both edges of the 1 1/2" by 6" piece of paper. I further decorated it by adhering two layers of ribbon with my Scor-Tape. This will be your box handle.
Adhere one end of the 1 1/2" by 6" piece to one side panel of the box. I used a 1/8" circle punch and a rhinestone brad to attach the box handle.
Line 1" tab on the box side with Scor-Tape. Peel the backing and adhere it to form the box. Attach the other side of the box handle in the same fashion as the step above. On the bottom of box, line the small tabs with Scor-tape. Peel the backing and fold them in first. Fold the bottom of the box up.
Line the top tab Scor-Tape. Peel the backing off the tape and fold the tab down, finishing your box.
Embellish and fill as desired. I added a couple of die cut snowflakes with rhinestone centers. Finally, I filled up with window box with the traditional Hershey's Kisses.
Thanks for hanging with me through the whole tutorial! Don't forget to visit the Scor-Pal blog throughout November and December for lots of beautiful projects!!
Details - Paper: Sweet Tooth White, SEI Winter Song; Accessories: Scor-Pal, Scor-Tape, 1/8" circle punch, Pretties Kit rhinestone brads, Recollections rhinestones, stampin' dimensionals, Rounded Rectangle die (Verve), Rounded Scallop Frame die (Verve), white organdy ribbon, white grosgrain ribbon, Snowflakes #8 embossing folder, Spellbinders Create a Flake 2 dies; scallop edge punch,
paper snips.
Monday, November 19, 2012
Friends and Thanksgiving

It's Monday and time for another Friends of Speedy TV challenge. If you have been keeping track, we are now on number 47. Today, we are making Thanksgiving cards. Hooray, another chance to use some of my favorite earthy colors! Those earthy colors called out for some acorns and leave and a little copper bow!
Our Thanksgiving plans are up in the air right now. Hubby wanted to go camping because of the long weekend, but the weather doesn't look really great! So we have kind of turned down both sides of the family. Hubby will probably get his way and not have to go anywhere if the weather doesn't cooperate. He's not a big fan of big celebrations or turkey dinner!
What are your Thanksgiving plans?
Thanks for stopping by! Don't forget, Mark's Finest Papers offers up a prize for one lucky participant!!
Details - Stamps: Daffodil Greetings (MFP), Autumn Splendor (MFP), Autumn Glory (MFP); Paper: Crumb Cake, Early Espresso, Watercolor paper; Ink: Rich Cocoa, Crumb Cake; Accessories: Copic and Touch Twin Markers, Nestabilities, sponge dauber, copper cording, stampin' dimensionals.
Sunday, November 18, 2012
A Scor-Pal & Hampton Art Tri-Shutter Card
Hello! I hope you enjoyed the Scor-Pal and Hampton Art week long feature! Today, I can share my main project that I made. If you haven't seen what the rest of the team has made, you will definitely want to check it all out on the Scor-Pal blog. Don't forget about the team on the Hampton Art blog who have been creating like crazy with their Scor-Pal products. Be sure to see what they have designed for your pleasure!! I offer you a Tri Shutter card.
The supplies that you will need are:
- Scor-Pal
- Scor-Mat
- 1 piece of card stock, 5 1/2" x 12" (card base)
- 2 pieces of card stock 1 7/8" x5 3/8" (mat)
- 1 piece of card stock 2 3/8"x 3 7/8" (mat)
- 2 pieces of card stock 1 3/8" x 3 7/8" (mat)
- 2 pieces of card stock 1 7/8" x 2 3/8" (mat)
- 4 pieces of card stock 1 3/8" x 1 7/8" (mat)
- 2 pieces of patterned paper 1 3/4" x 5 1/4"
- 2 pieces of patterned paper 1 1/4" x 3 3/4"
- 4 pieces of patterned paper 1 1/4" x 1 3/4"
- 1 piece of water color paper 2 1/4" x 3 3/4" (image)
- 2 pieces of water color paper 1 3/4" x 2 1/4" (image)
- Ruler
- Craft knife/hobby blade
- Water brush
- Stamps
- Ink
- Adhesive
- Other items to embellish
Place your 12" side of your card base against the top fence of your Scor-Pal. Score at 2", 4", 8" and 10".
Insert your Scor-Mat into your Scor-Pal. Align your 5 1/2" side of your card base with the top fence. Line your ruler up with the 1 1/2" mark on the top fence and use your craft knife to cut a slit between the 2" and 10" score lines.
Next, line your ruler up with the 4" mark on the top fence and use your craft knife to cut a second slit in your card base between the 2" and 10" score lines.
At the 2" score line, create a mountain fold for the top and bottom 1 1/2" sections.
At the 4" score line, create a mountain fold in the center section and a valley fold for the top and bottom 1 1/2" sections.
At the 8" score line, create a valley fold in the center section and a mountain fold for the top and bottom 1 1/2" sections.
At the 10" score line, create a valley folds for the top and bottom 1 1/2" sections.
Here is a view from the top of how your mountain and valley folds will look.
For my first image panel, I used the Hampton Art set called Home Tweet Home. (This amazing stamp set has 21 stamps in it!!) I stamped the bird cage and the chain images in Colorbox Archival Dye Ink in Wicked Black which I had stamped off once to get a nice gray color. Then I stamped one of the bird images (there are six different birds in this set) in Colorbox Archival Dye Ink in Mudslide. I used my water brush to water color the bird with Colorbox Archival Dye Ink in Mermaid.
For my second image panel, I used the tree branch with leaves. I stamped it in opposite directions with the Mudslide ink. Again, I used my water brush to water color the leaves on the branches with Colorbox Archival Dye Ink in Putty. Finally, I stamped this sentiment in Wicked Black ink.
For my final image panel, I stamped a different tree branch in Mudslide ink and water colored the leaves with Putty ink. Then I stamped a different bird image on the branch in Mudslide ink and water colored it with Mermaid ink. Lastly, I stamped the sentiment up above in Wicked Black ink.
A final bit of embellishing with stamped chains, fussy cut tree branches and a loopy die cut finishes the card.
I hope you enjoyed today's tutorial. Thanks for reading all the way through it!
Details - Stamps: Home Tweet Home (Hampton Art); Paper: Very Vanilla, Early Espresso, Spice Cake dp, Elegant Soiree dp; Ink: Wicked Black (Hampton Art), Mudslide (Hampton Art), Putty (Hampton Art), Mermaid (Hampton Art); Accessories: Scor-Pal, Scor-Mat, craft knife, Aqua Painter, Apron Border die, adhesive.
Friday, November 16, 2012
Scor-Pal & Hampton Art Extra
Thanks for stopping by my blog today! We are nearing the end the of Scor-Pal and Hampton Art Feature Week. If you haven't seen what the rest of the design team created, be sure to visit the Scor-Pal blog. While you are there, check out the work of the Hampton Art team!!
Next, burnish you folds with your Scor-Tool.
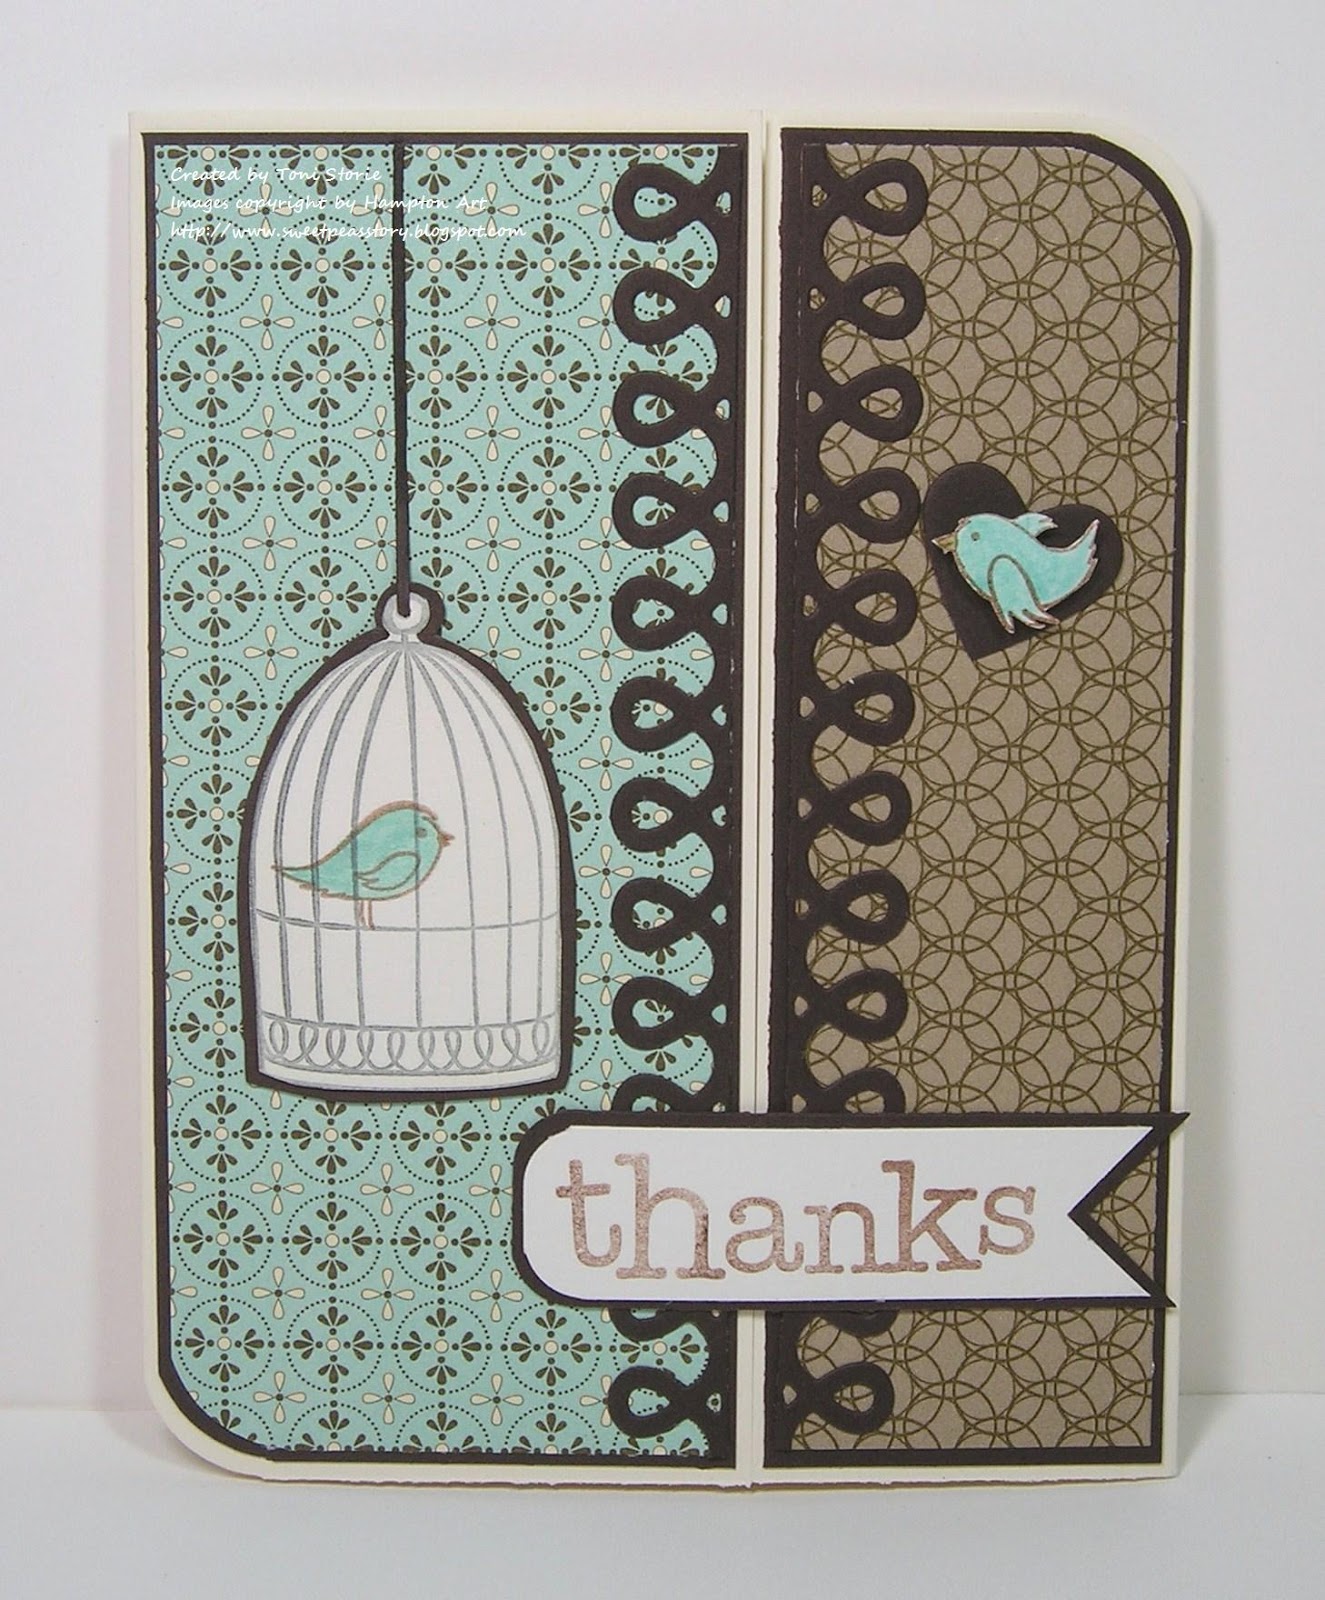
Finally, decorate your off set gate fold card. I used the Hampton Art set called Home Tweet Home for my sentiment, birds and birdcage. I also used some Colorbox Archival Dye Ink to stamp and watercolor my images. I used the colors named Wicked Black, Mudslide, Mermaid and Putty.
Thanks for stopping by and don't forget to see the two projects on the Scor-Pal blog tomorrow that finish off the Scor-Pal & Hampton Art Feature Week.
I created a modified gate fold card. I like the simplicity and the uniqueness of making the fold just a bit off center.
You will want to start with a 5 1/2" by 8 1/2" piece of card stock placed into your Scor-Pal. Make sure that you have the 8 1/2" side up against the top fence.
First, score at 2 1/2" and then score again at 6 3/4".Next, burnish you folds with your Scor-Tool.
Finally, decorate your off set gate fold card. I used the Hampton Art set called Home Tweet Home for my sentiment, birds and birdcage. I also used some Colorbox Archival Dye Ink to stamp and watercolor my images. I used the colors named Wicked Black, Mudslide, Mermaid and Putty.
Thanks for stopping by and don't forget to see the two projects on the Scor-Pal blog tomorrow that finish off the Scor-Pal & Hampton Art Feature Week.
Details - Stamps: Home Tweet Home (Hampton Art); Paper: Very Vanilla, Early Espresso, Spice Cake dp, Elegant Soiree dp; Ink: Wicked Black (Hampton Art), Mudslide (Hampton Art), Putty (Hampton Art), Mermaid (Hampton Art); Accessories: Scor-Pal, Scor-Tool, Aqua Painter, Apron Border die, adhesive, corner chomper, square punch.
Monday, November 12, 2012
Scor-Pal and Hampton Art Blog Hop
We have another great week planned for you!! Starting today, the Scor-Pal Design Team is working in conjunction with the Hampton Art team and their great products. There will be six full days of fabulous projects and tutorials. Don't forget to stop by the Scor-Pal blog each day for your daily dose of fun!
Before I go, I'll leave you with a little peak at what you can expect from me!
Have a wonderful day!
Subscribe to:
Posts (Atom)